


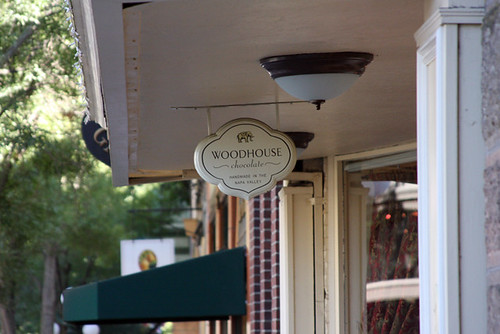

Woodhouse... our favorite chocolates.

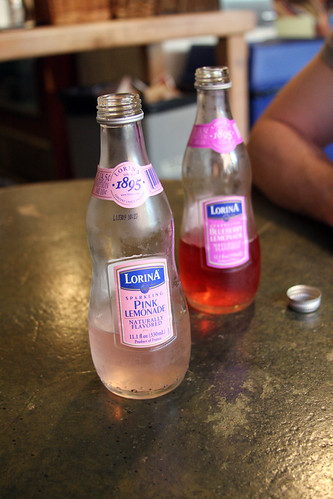
Break at the cafe for refreshments.

New short hair!
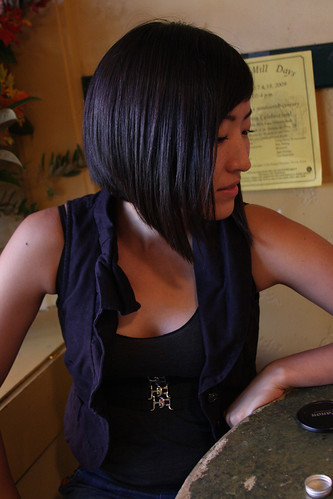
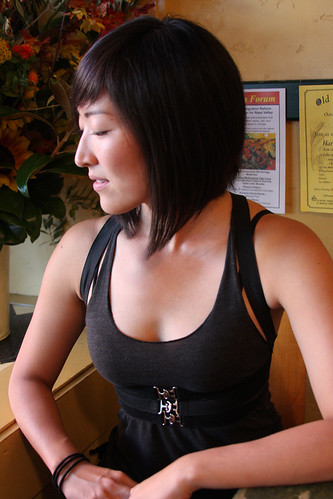


Lots of bounce!


It was hot in California... over 100 degrees! I was sweating!
More pictures to come!
 |
 |
 |
 What a long day! The new washing machine stopped draining (of course, the machine is digital so you can not just take something apart). I am working outside and the weather is back to being cold, rainy, and gusts of wind are shooting from all directions. I am also missing my little girl. Ashley, my daughter, just passed her driving test and received her license last Friday. She is 18 and decided to go for the weekend with friends. Today is the first day I have seen her since Friday and I feel heart broken and hoping she stays safe. I don't have words to put down that describe trying to let go and let her grow. Great, I am getting teary eyed again. Baking cookies and staying busy helps me from driving the dog, 2 cats and my hubby nuts. I am picking everything up before the item is even set down, fed the dog twice on accident, and the cats sense me contemplating giving them a bath. Cookies sound so much safer.

 In a mixing bowl, cream butter, 1 cup sugar and brown sugar. Add the eggs, one at a time, beating well after each addition. Beat in vanilla. Combine the flour, cocoa and baking soda; gradually add to the creamed mixture, beating just until combined. Stir in 1/2 c. pecans.
 Bake at 375 degrees F. for 7-10 minutes or until tops are slightly cracked. Cool for 3 minutes before removing to wire racks to cool completely. Drizzle with melted white chocolate.
 This recipe should make about 3 dozen cookies =D


 The butter was frozen ahead of time and ready to be chopped.
 I made Dorie's Almond Sweet Tart Dough on page 444 of Dorie Greenspan's Baking book, pressed the dough into the tartlet pans, froze the dough for about 1 hour, then baked the shells.
 All ingredient for the caramel were assembled, including a heatproof bowl. I was surprised at still being a little nervous. Other fellow baker's low points when making caramel have stuck with me so I was really hoping for success.
 Stage 1 of making the caramel was melting the sugar and getting a little golden color.
 Stage 2 was adding the corn syrup and boiling the syrup until the color reached a deep caramel hue.
 Stage 3, and last part to the caramel process, was adding the butter and salt (I used unsalted butter), lowering the temperature and allowing to boil for 2 minutes. The caramel is poured into the heatproof bowl, my heart is no longer racing and guess what? We made caramel! The fear factor was so much worse. I know it is silly to be worried over such things but we are dealing with molten lava here!
 Semi-sweet Callebaut chocolate was chopped, put into a bowl with hot, heavy cream poured over the pieces, and chunks of butter swirled in leaving a shiny and smooth finish. The wooden spoon was taste tested after completing this process.
 Chopped honey roasted peanuts were added to the caramel and the assembly of the tarts is almost over. The final step was pouring the delicious ganache to the tart's crust edge and Ta Daaa....we all now have Dorie Greenspan's Chocolate-Crunched Caramel Tarts!
 A chocolate fix must have been in order because I also baked Super Chocolate Caramel Bars. These Kraft caramels have been sitting in the kitchen, taunting me to do something with them for over a month. Well, I did something with them! A friend from Group Recipes posted this and stated that she found the recipe on cdkitchen.com. Delicious and gooey.

 Top crust with caramel mixture; sprinkle with chocolate chips and pecans.


